Appointment Form Screen
The Appointment Form screen consists of two sections: Grant Details and Process Statement of Training Appointment.

Grant Details section
This section contains information about the grant.
|
1.
|
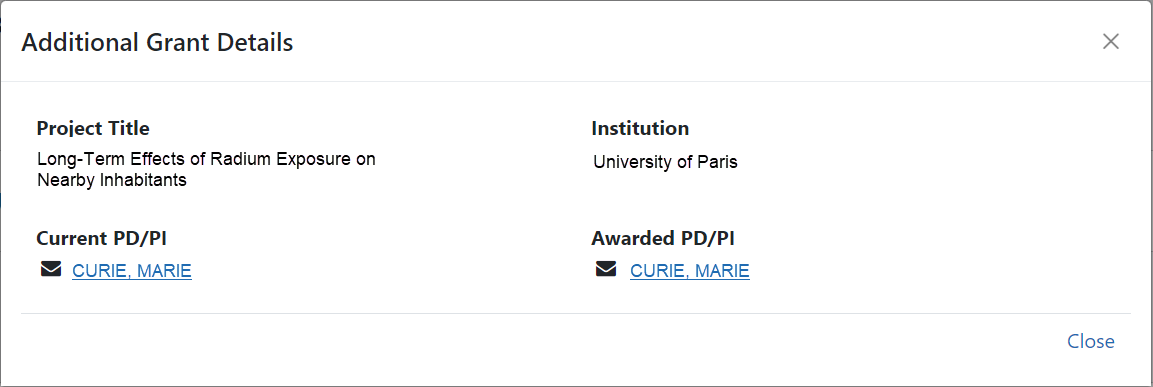
Click the  Actions button for the grant number and select Additional Grant Details to view more information. Actions button for the grant number and select Additional Grant Details to view more information. |
|
2.
|
Click the Close button to return to the Appointment Form screen. |
|
3.
|
Click the hyperlinked names to send email to the Grant Management Specialist and Program Official. |
Process Statement of Training Appointment section
This section provides details of the appointment.
|
1.
|
Click the Actions button for the trainee and select an option: |
|
a.
|
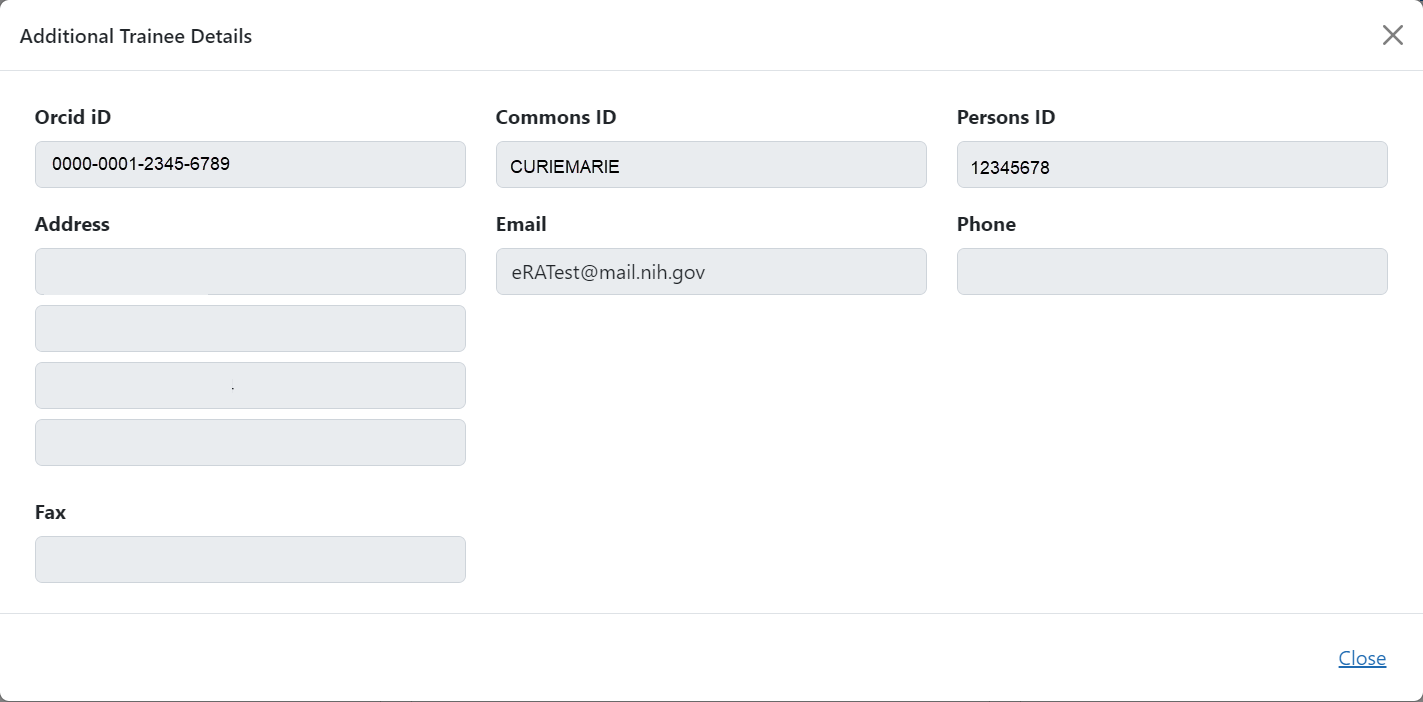
Additional Trainee Details displays more information about the trainee. |
|
b.
|
Create Service Desk Ticket to create a service desk ticket prepopulated with grant and trainee information. Complete the ticket, then click the Submit Ticket button to send it to the service desk. |
Take Action section
This section contains options to edit the notice and route it onward for processing.
Save Draft
|
1.
|
Make the appropriate edits to the form. |
|
2.
|
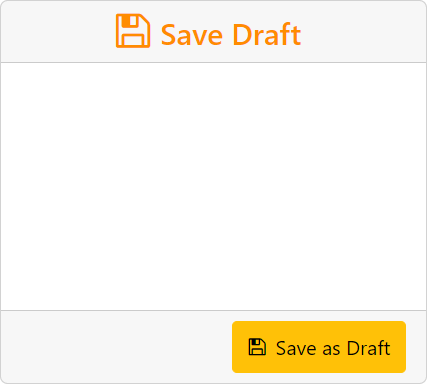
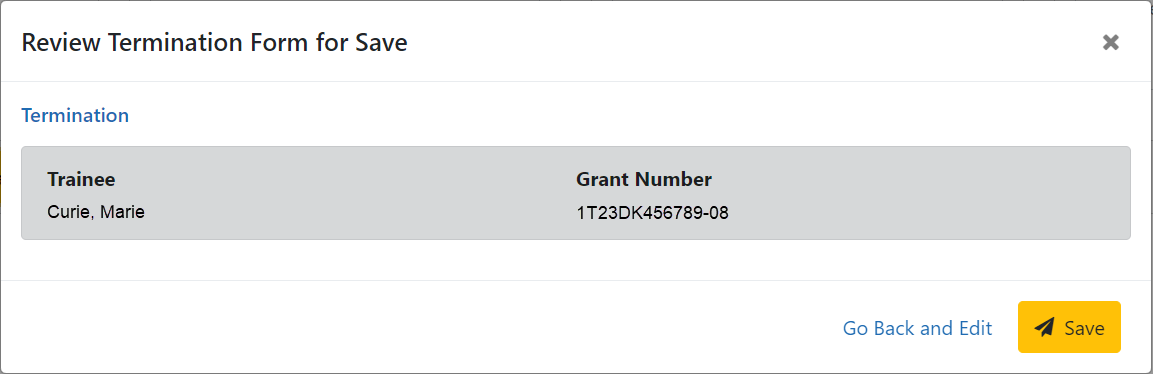
Click the Save as Draft button. A confirmation message displays. |
|
3.
|
Click the Save button. Your edits are saved and the form remains in your queue. |
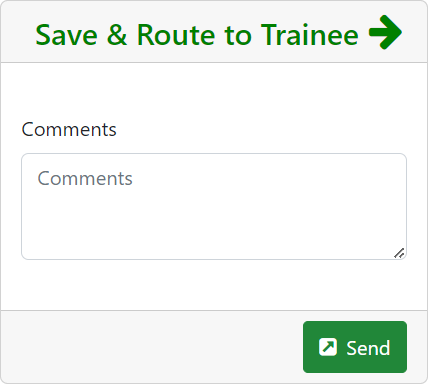
Save & Route to Trainee
|
1.
|
Add comments to the Comments field if desired. |
|
2.
|
Click the Send button. A confirmation message displays. |
|
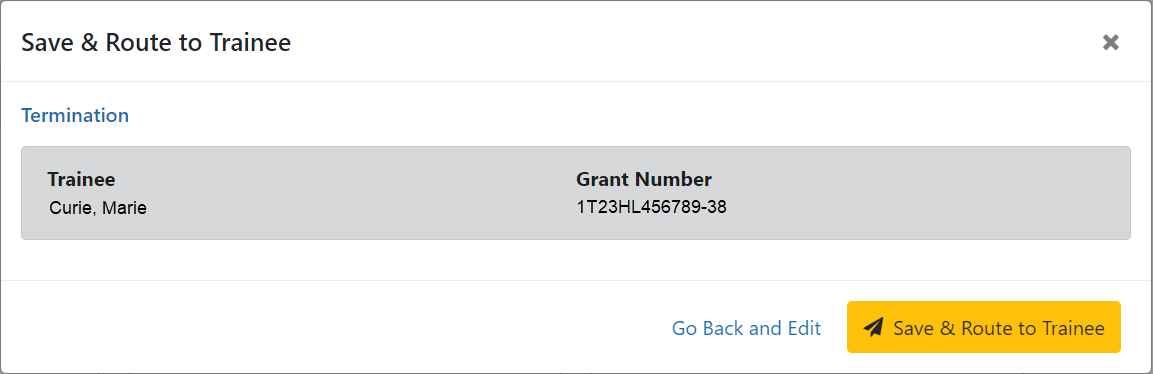
3.
|
Click the Save & Route to Trainee button. |
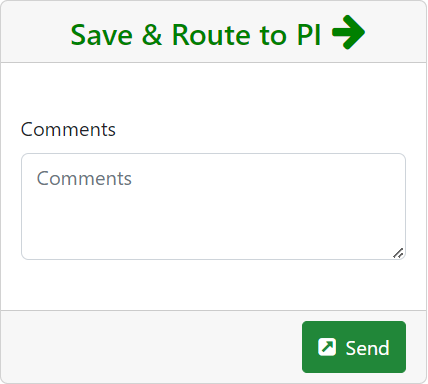
Save & Route to PI
|
1.
|
Make the appropriate edits to the form. |
|
2.
|
Add comments to the Comments field if desired. |
|
3.
|
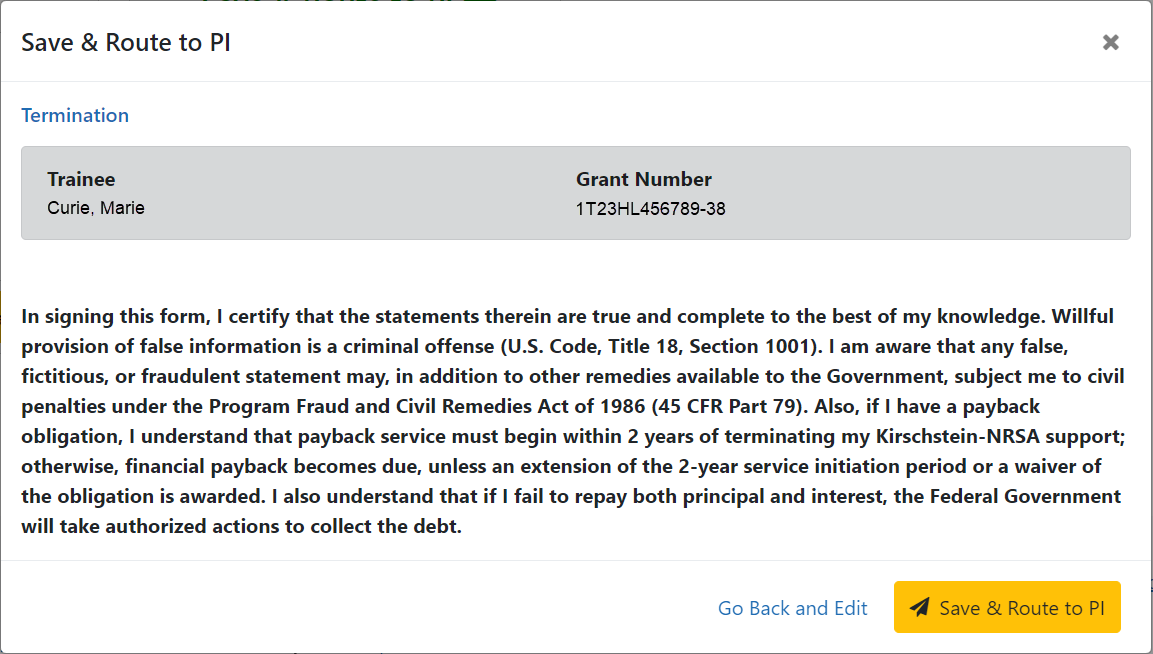
Click the Send button. A confirmation message displays. |
|
4.
|
Click the Save & Route to PI button. |
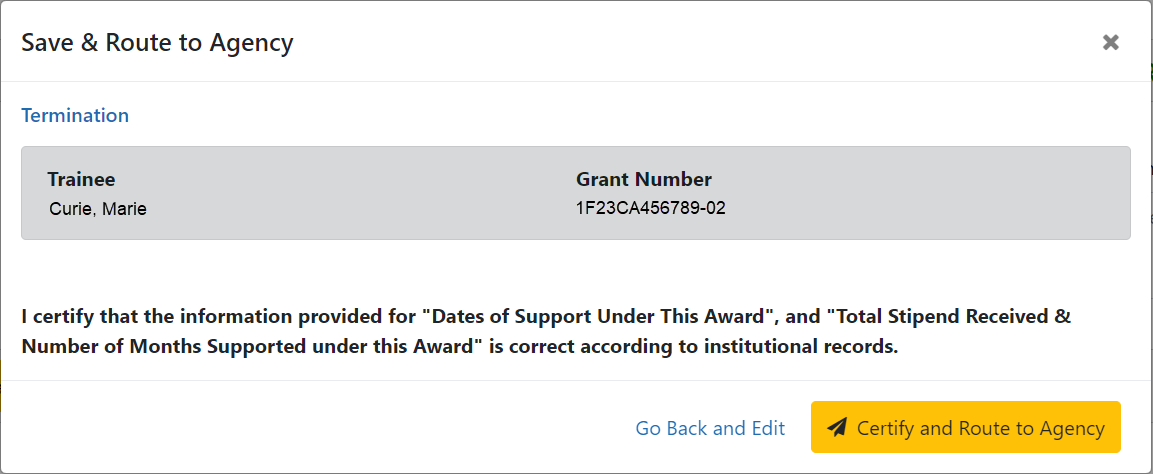
Route to Agency

|
1.
|
Make the appropriate edits to the form. |
|
2.
|
Add comments to the Comments field if desired. |
|
3.
|
Click the Submit button. A confirmation message displays. |
|
4.
|
Click the Certify and Route to Agency button. |
